A yard sign has one job: someone drives past at 35 miles an hour, reads it, and knows what to do next. That is a short window. Most homemade signs fail because the message is too long, the letters are too small, or the colors fade into the background, not because the maker lacked skill.
This guide walks through making a simple, temporary yard sign for a grand opening, a fundraiser, a community event, or a business promotion. It covers the steps in order, then a quick do and don't list you can tape next to your workspace.
Before you start: check where the sign can go
Decide the location first, because it affects the size, the message, and whether the sign is allowed at all.
- Get permission from the property owner. If the yard, lot, or storefront frontage is not yours, ask before you place anything.
- Check local sign rules. Cities, counties, HOAs, and landlords can have their own rules about temporary signs. Contact the relevant office or property manager and ask what applies to your location.
- Keep sight lines clear. Never put a sign where it blocks a driver's view of an intersection, driveway, crosswalk, or another sign.
Step 1: Write one message, in as few words as possible
Pick the single thing you want a passerby to take away. A sign is not a flyer. Aim for roughly three to seven words of primary text, plus one line for the action.
A workable structure:
- What it is: "Grand Opening," "Car Wash Fundraiser," "Garage Sale."
- When or where: "Saturday 9 to 2," or an arrow.
- How to follow up: a short web address or one phone number.
Pick one contact method. A sign with a phone number, an email, a website, and three social handles gives the reader nothing they can remember at speed.
Step 2: Size the letters for the distance
A common rule of thumb for readable lettering is about one inch of letter height for every 10 feet of viewing distance. A sign meant to be read from 50 feet away needs letters around 5 inches tall. For a roadside sign read from a moving car, go larger than the rule suggests.
Work backward from that number. If your main line is five words at 5-inch letters, count how wide the line becomes. If it does not fit across the board, cut words instead of shrinking the letters.
A quick way to test your layout: tape a sheet of paper to a wall, write your headline at full size, and walk back to the distance where the sign will be read. If you squint, the letters are too small.
Step 3: Choose high-contrast colors
Contrast does more work than any design flourish. Dark letters on a light background, or white on a deep color, read well from a distance. Pairs that look fine on a screen can disappear outdoors in Arizona sun.
- Strong pairs: black on white, black on yellow, white on dark green, white on dark blue.
- Weak pairs: red on green, light gray on white, yellow on white, pastel on pastel.
Limit yourself to two or three colors total. Use a clean sans-serif or block style with thick strokes. Thin script fonts blur at distance.
Step 4: Sketch the layout before you cut or paint anything
Draw the sign at a smaller scale on paper, or on a screen, and place each line. Leave a margin of at least one letter height around the edges so text does not crowd the border. Put the most important line in the top half, where the eye lands first.
If you want a quick visual starting point, the Sign Designer on our homepage lets you arrange text and artwork on a board for a sign format before you commit to materials. It is a layout sketch, not a final proof.
Step 5: Pick a board and stakes that match how long the sign will be up
For a temporary sign, these are common DIY choices. They are general options, not a statement about how any professional shop builds its signs.
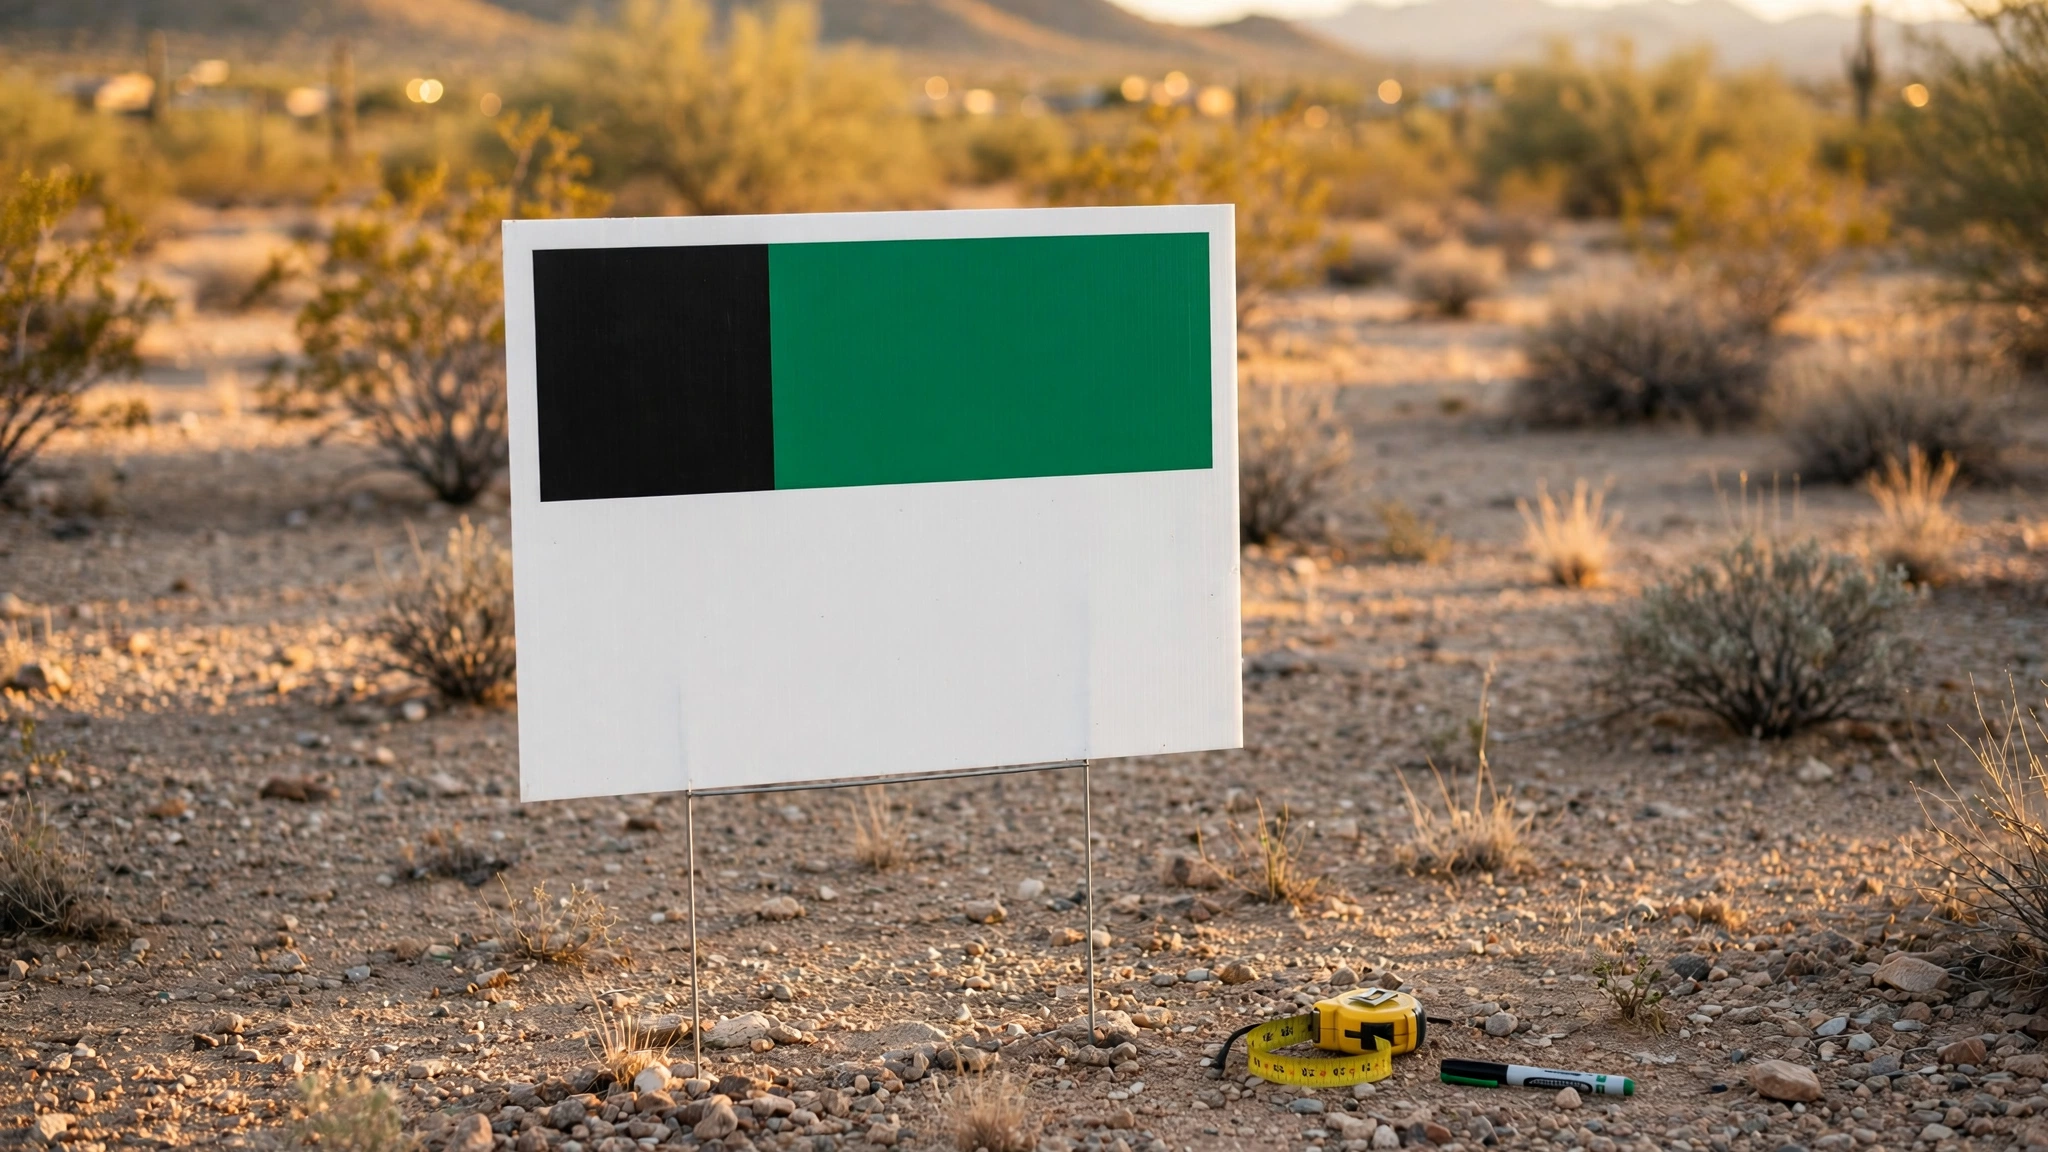
- Corrugated plastic board. A lightweight, weather-resistant board often used for short-term outdoor signs. It is easy to cut with a utility knife and a straightedge, and its flutes slide over wire stakes.
- Wire H-stakes. Commonly used with corrugated plastic. Push them into soft ground by hand if you can.
- Foam board or poster board. Fine for a one-day indoor display. Outdoors, moisture and wind warp them quickly.
- Plywood. Sturdier, but heavier and prone to damage if it is not sealed. It needs a proper post, which usually means more digging and more rules to check.
Whatever you choose, cut clean edges with a sharp blade and a metal ruler. Ragged edges make a sign look unfinished from the first glance.
Step 6: Apply the message
Match the method to the size of your project and the tools you own.
- Adhesive vinyl letters. Clean look, good for a sign you will reuse. Wipe the board with a dry or lightly damp cloth, let it dry fully, then use a ruler or painter's tape line to keep the text straight. Press from the center outward to avoid bubbles.
- Paint with stencils. Use outdoor-rated paint and tape the stencil down firmly. Apply light coats to avoid bleeding under the edges.
- Paint pens or markers. Practical for small quantities. Outline each letter first, then fill it in. Many markers fade outdoors, so use a product labeled for outdoor use.
- Printed layout mounted on board. Works when you need artwork or a logo. Make sure the print is sealed or laminated and that its edges are taped down so wind cannot lift them.
Let paint dry completely before you stake the sign. Wet paint picks up dust and grit that you will see in the final result.
Step 7: Place it safely
- Start with soft, clear ground. Push stakes in by hand or tap them gently with a rubber mallet. Stop if you hit resistance.
- Know what is underground before you dig. Sprinklers, irrigation lines, and buried utilities can sit closer to the surface than you expect. If you plan to dig or drive anything deeper than a few inches, call 811 first to ask about marked utility lines.
- Angle the face toward traffic. Stand where drivers will be and check that the sign is visible and that nothing, such as a shrub or parked vehicle, covers it.
- Anchor against wind. Desert wind pulls light signs loose. Push stakes in firmly, and check the sign after the first windy day.
- Take it down when the event is over. Old signs make a business or group look careless.
Projects that need permits, or that call for specialized equipment such as large posts, concrete, or heavy mounting, are a different category from a simple temporary yard sign. Check with the property owner or your local office before you go that route.
The quick do and don't list
Do
- Do get permission and check local sign rules before placing the sign.
- Do write one clear message of seven words or fewer for the main line.
- Do size letters for the distance, about one inch of height per 10 feet as a starting point.
- Do use high-contrast colors and thick, simple lettering.
- Do test your layout from the distance where it will be read.
- Do keep sight lines at intersections and driveways clear.
- Do remove the sign when the event or promotion ends.
Don't
- Don't list every service, phone number, and social handle on one sign.
- Don't use thin script fonts or low-contrast color pairs.
- Don't place a sign where it blocks a driver's view, a sidewalk, or someone else's property.
- Don't dig or drive deep stakes without checking for underground lines.
- Don't use indoor materials, like poster board, for a sign that will sit in sun and wind.
- Don't skip the walk-back test. A layout that looks good at arm's length can fail at 50 feet.
When a homemade sign is not enough
A DIY sign works well for a weekend event or a one-off message. If you need a cleaner finish, several matching signs, your logo reproduced accurately, or a sign you can use for more than a short run, a professionally produced yard sign is worth a look.
Battle-Born Signs & GraphiX makes yard signs, banners, and other signs and graphics in-house in Mohave County, Arizona. Bring the message, the size you have in mind, and any artwork you have, and the team confirms final dimensions, materials, and fit during quoting. You can request a quote for a custom yard sign and describe what you need, even if your layout is still a rough idea.